Assembling Your New Garden Master or Galvo Shed
Your new garden shed will be delivered in smaller pieces making handling and transportation easier and more economical. Your shed will come flat packed in one cardboard box and in most cases a longer plastic wrapped channel pack. With Garden Master models the door is pre-assembled and pre-hinged for your convenience. Comes complete with screws & rivets. Garden Master sheds even come with a pop riveter included.
Assembly couldn’t be easier – it’s a simple job for two. Full instructions are included with each shed – the pictures below are meant as a guide only. You can download the assembly instruction sheet for a Garden Master GM2315 to see the detailed instructions we provide. You can also view a series of videos online which walk you through the assembly process.
If you would like your shed assembled, find out more about using a professional assembly service here.
Step 1:
- Unpack and read the instructions. Have your tools on hand.
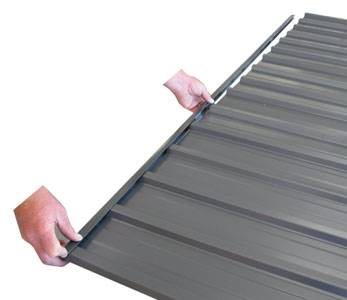
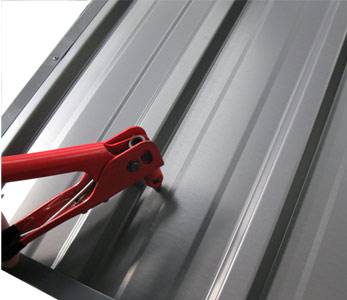
- Join the sheets to form the wall panels (pictures 1 and 2).
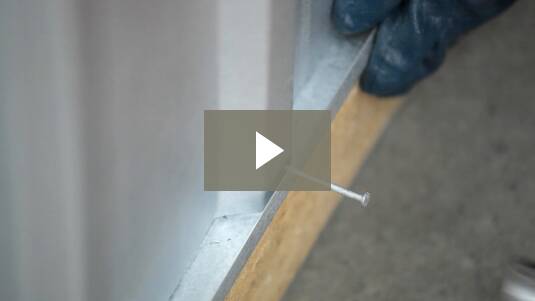
- Fix channels to top and bottoms at every 2nd rib (pictures 3 and 4).
Step 2:
- On the roof sections, also fit and fix “L” flash (picture 5).
- Bear in mind your door is already assembled and pre-hinged by our team. (Garden Master only)
- Complete all panels as per above and have them ready to erect your shed.
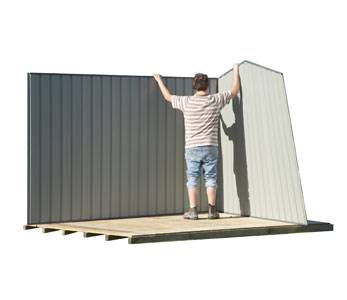
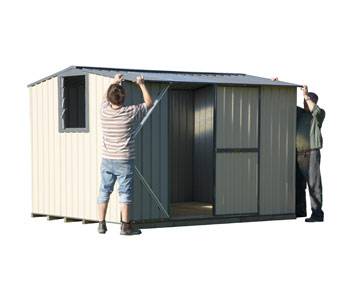
- Now just join your corners (pictures 6 and 7).
Step 3:
- Slip the roof on and fix to the four walls (see picture 8 and 9).
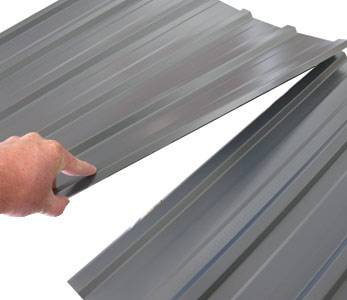
1) Overlap sheets
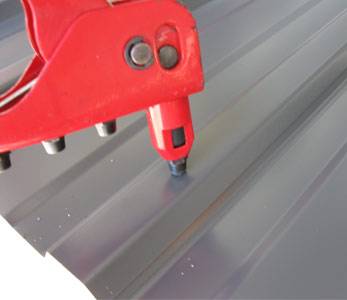
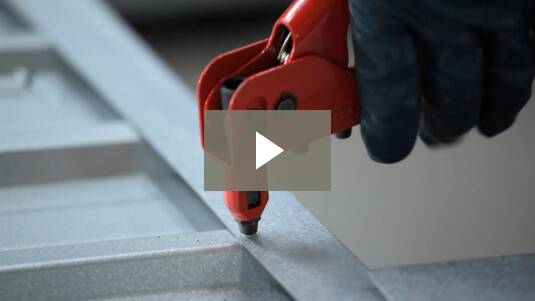
2) Drill, rivet, join
3) Fit channels
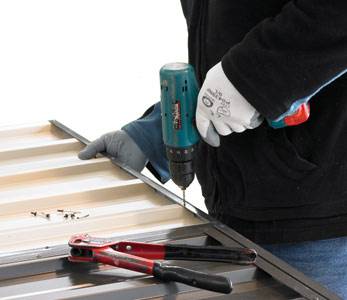
4) Fix channels
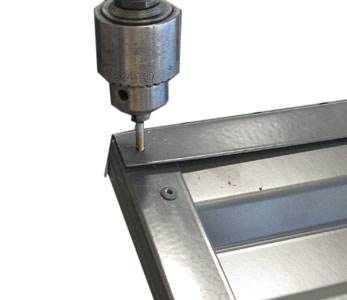
5) Fit & fix “L” flashing
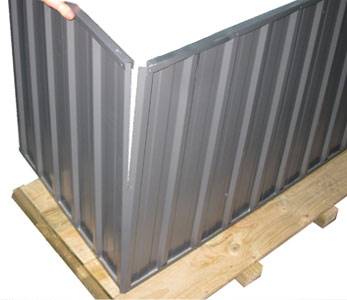
6) Join corners
7) Join corners
8) Fit roof
9) Fix roof
Flooring Considerations
If you already have a concrete slab or pavers down, your shed can be secured directly to that surface using our flat floor clamp set (available as an add-on when you buy the shed). If you are going to pour a new concrete slab for the shed, we recommend that you do so with a recess around the edge as this allows the shed walls to come down lower than the internal floor level, making it much less likely that rain will work it’s way in and make the floor wet. You will then want to order the recessed floor clamp set to go with your shed. Measurements and detail of the recess can be seen here.
We can provide a timber floor kit which also results in the wall sheets coming down lower than the internal floor level.
Caution
Do not attempt in wet or windy conditions. Hand and foot protection must be worn. Make sure your shed is well secured to floor. See concrete and timber floor specifications here.
Need An Assembly Service?
If you would rather have someone assemble your new shed for you, we suggest you get in contact with one of these assembly services. Or get more information here.

Waikato
Pegasus Assembly Services
Ph 0800 548 269

Auckland & Coromandel
Mr Shed
Ph 0800 677 433

Nationwide
Kitset Assembly Services
Ph 0508 454 873